All About Technology is a blog where you can troubleshoot all of your Technology Troubles...
Sunday, 11 January 2015
Saturday, 10 January 2015
How to Take Screenshots on Almost Any Device
Screenshots are a great way to prove a point, build a case, or just send someone something interesting on your screen. If you don’t know how to take screenshots, then you’re really missing out.
All the major platforms now support easy screenshots. Windows users have always been able to take a snap of their screen by pressing the “PrtScn” (Print Screen) button, which would capture the screen’s output to the clipboard. However, from there, you usually had to load an intermediary application (MS Paint, for example) to paste it into, and then save it to a file.
Windows 8.1
Any Windows version previous to 8 or 8.1, is going to use the old school PrtScn-Paste-Save method described earlier. Of course, you can always use a screenshot program and that solves the problem to a large extent. In Windows 8.1, Microsoft finally introduced native screenshot operations, meaning that as soon as you take a screenshot, it is saved to the hard drive as a file.
The three main Windows screenshot methods are as follows:
“PrtScn” copies the screenshot to the clipboard. “Windows + PrtScn” takes a screenshot, which is then saved to the user’s Pictures/Screenshots folder.
Take a screenshot on your Mac
Capture your entire screen
Press Command (⌘)-Shift-3. The screenshot is added to your desktop. This is similar to using Print Screen on a PC.
Capture some of your screen
 Press Command (⌘)-Shift-4, and then drag the crosshair pointer to select
the area. Hold Shift, Option, or the Space bar while you drag to resize
the selection area. To cancel, press Escape (esc) before you release
the mouse button.
Capture a menu
Click the menu to reveal its contents, then press Command (⌘)-Shift-4 and drag the crosshair pointer over the area.
To take a screenshot of the menu without the title, hover over the menu, press Command (⌘)-Shift-4 and the Space bar.
To cancel, press Escape (esc) before you click.
Android Devices
Android devices are many and widely varied, but screenshots on them are more or less universal, assuming you’re using Android as Google intended it.
On the majority of newer Android devices running version 4 or higher, you can execute a screenshot by pressing “Power + Volume Down.” Sometimes a manufacturer will include a screenshot option on the power menu, which you can access by holding down the power button until the menu appears.
Screenshots will be saved to your devices internal storage. You should
be able to access them using your preferred photos or gallery app.
IOS devices (iPhones and iPads)
If you’re using an iPhone or an iPad, then things are blessedly simple and universal. Apple doesn’t have to worry about device makers changing things around, because it controls both the software and hardware from start to finish.
To take a screenshot on an iOS device hold the “Power” button and press the “Home” button. The screen will flash and your screenshot will be saved to your device’s internal storage, which you can then view, edit, and share using the Photos app.
How To Use Pendrive As RAM
Hi,
As you all know that Computer is most important part of our life.. We all are connected 24❌7 to the internet with mobile devices, tablet, laptop or other Communication devices..
We perform/open many tasks on our laptop at the same and every tasks need Memory to perform..
For exp. You are browsing internet and at the same time you are listing song also...
And as i said every tasks need Memory to perform.. When you goes to open many other tasks you need more memory,
This is the Memory known as RAM(random access memory).. You can boost your RAM using your pendrive or memory card,
Just Follow my steps to know how?
- Plug-in pen drive or memory card in the laptop computer.
- Now format your pen drive, after formatting complete Right click on
pen drive and select properties. - Now Click on Ready boost Tab and click on use this device.
- Click apply and 🆗\
Subscribe to:
Comments (Atom)
Featured post
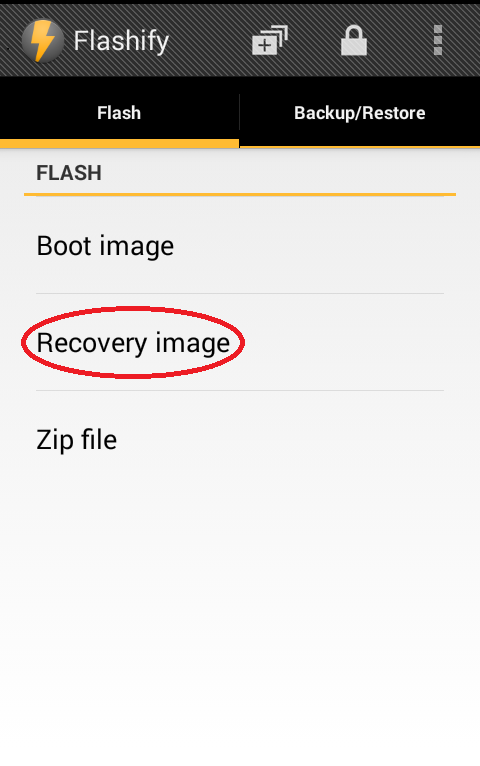
How to install CWM Recovary in Micromax Unite
How to install CWM recovary in Micromax Unite(A106) Before we start you must know that what are benifits of it? CWM also knows as Clockw...


.png)
.png)
_Fotor.jpg)
.png)
.png)
.png)
.png)
.png)
.png)

.png)


.png)